
Whip up tender, juicy Garlic Butter Shrimp in just 10 minutes.
Air-frying locks in flavor and takes out all the fuss, delivering perfectly cooked, succulent shrimp in a fraction of the time it takes to cook them on the stove
The Fastest, Most Flavorful Shrimp You’ll Ever Make
You’re exactly 10 minutes away from a plate of perfectly cooked, juicy, garlicky shrimp dripping in rich, golden garlic butter.
Air fryer shrimp has become one of the most searched weeknight dinner solutions across the United States – and once you try this method, you’ll immediately understand why. The air fryer delivers shrimp that is:
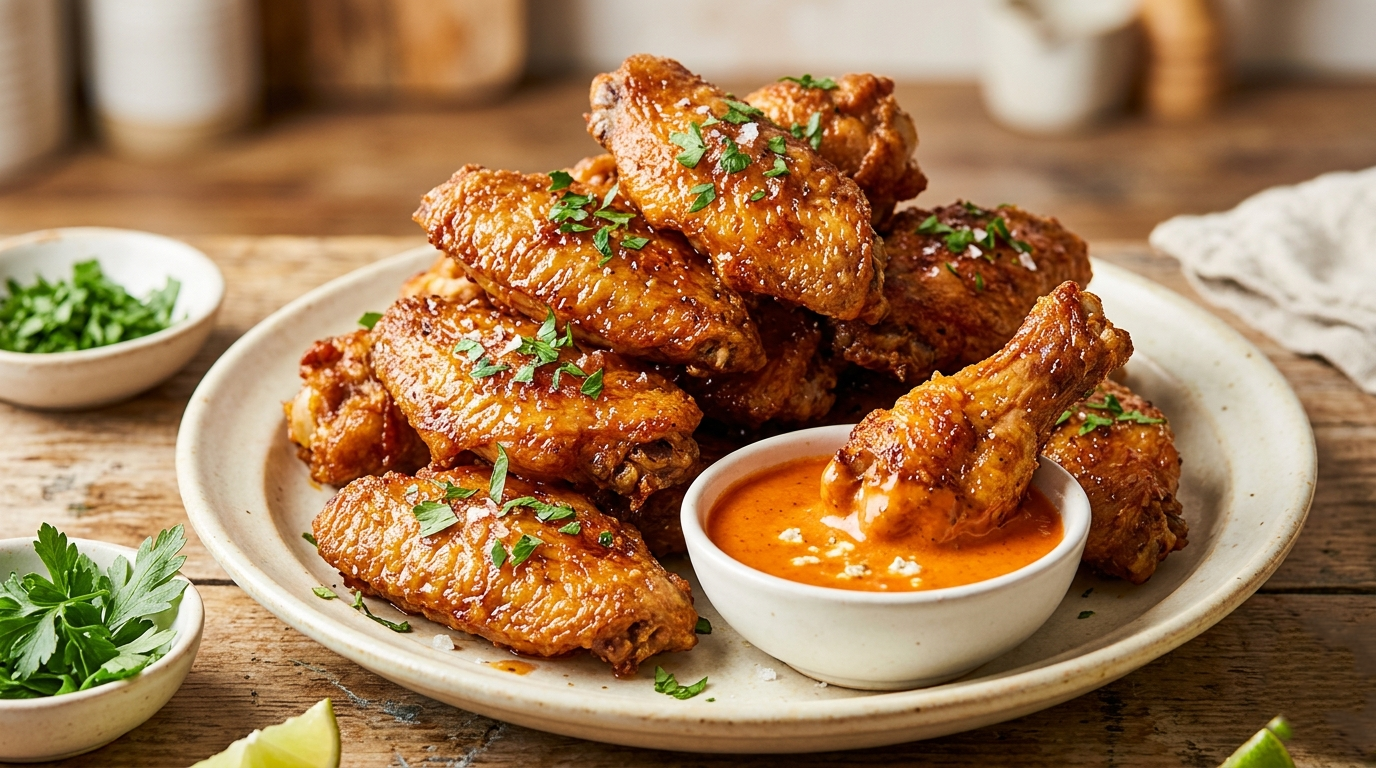
- Lightly crisp on the outside with caramelized garlic bits clinging to every surface
- Tender and juicy on the inside – never rubbery, never overcooked
- Coated in rich garlic butter that caramelizes directly onto the shrimp during cooking
- Ready in under 10 minutes, start to finish
Below you’ll find everything you need – the right shrimp to buy, why the air fryer works so well, the exact garlic butter formula, mistakes to avoid, and serving ideas that will make this your most-requested weeknight dinner.
Why Air Fryer Shrimp Is a Complete Game-Changer
Traditional shrimp cooking methods all have real drawbacks:
- Skillet sautéing demands constant attention and creates stovetop splatter
- Boiling strips flavor and makes overcooking almost inevitable
- Deep frying adds excess calories and creates a major cleanup mess
The air fryer solves all three problems at once.
Inside the air fryer, superheated air circulates rapidly around every surface of the shrimp. This mimics deep frying – creating a slightly crisp exterior – while using little to no added oil. The Maillard reaction (the browning process that creates rich, savory flavor) still occurs, giving you deeply flavorful shrimp without the grease.
Key advantages of this method:
- Speed: Done in 6–8 minutes at 400°F – faster than boiling a pot of water
- Even cooking: Circulating air reaches all sides of every shrimp simultaneously
- Better flavor: Garlic butter caramelizes directly onto the shrimp, not into a pool of water
- Minimal cleanup: One basket, no splatter, no burnt residue on the stove
Choosing the Right Shrimp
Your shrimp selection is the foundation of this recipe. The wrong choice leads to rubbery results no matter how good your garlic butter is.
Best Size for Air Frying
Large to extra jumbo shrimp are the ideal choice. Smaller shrimp cook too quickly and turn rubbery before the garlic butter caramelizes.
| Size Label | Count Per Pound | Performance |
| Extra Jumbo | 16/20 | Best – meaty, caramelizes perfectly |
| Jumbo | 21/25 | Great – slightly faster cook time |
| Large | 31/40 | Acceptable – reduce time by 1–2 minutes |
| Medium or smaller | 41+ | Not recommended – overcooks too easily |
Fresh vs. Frozen
Frozen shrimp is often fresher than grocery counter “fresh” shrimp, which was previously frozen and may have been thawing for days. Buying frozen and thawing at home gives you full control over quality.
How to thaw properly:
- Overnight (best): Place in a covered bowl in the refrigerator the night before
- Quick method: Place in a colander under cold running water for 5–7 minutes
- Never use warm water – it cooks the shrimp unevenly and ruins the texture
What to Buy
Use peeled and deveined shrimp with the tail on. The tail adds flavor during cooking and serves as a natural handle. Remove tails before cooking if adding to pasta or bowls.
The Garlic Butter Formula
The garlic butter coating transforms ordinary air fryer shrimp into something genuinely special. This formula was tested across multiple air fryer models and refined for maximum impact.
For 1 pound of shrimp (serves 2–3):
- 3 tablespoons unsalted butter, melted
- 4–5 cloves fresh garlic, finely minced (never substitute garlic powder)
- 1 tablespoon olive oil (raises the butter’s smoke point – critical at 400°F)
- 1 teaspoon smoked paprika
- ½ teaspoon onion powder
- ½ teaspoon kosher salt
- ¼ teaspoon black pepper
- ¼ teaspoon red pepper flakes (optional – adds pleasant heat)
- 1 tablespoon fresh lemon juice
- 2 tablespoons fresh parsley, chopped (added after cooking)
Two ingredients make or break this recipe:
- Fresh garlic: Creates golden, crispy bits that caramelize and cling to the shrimp. Garlic powder stays flat and powdery under high heat.
- Olive oil + butter: Pure butter burns at ~300°F. Your air fryer runs at 400°F. Blending in olive oil raises the smoke point and allows proper caramelization without burning.

Step-by-Step: Air Fryer Shrimp in 10 Minutes
This method works on virtually every major brand – Ninja, Cosori, Instant Vortex, Philips, and PowerXL.
01 – Pat the Shrimp Dry (2 Minutes)
Moisture is the enemy of caramelization. Surface moisture causes shrimp to steam instead of sear, killing any chance of golden garlic bits.
- Lay thawed shrimp in a single layer on paper towels
- Press another paper towel gently on top
- Let sit 1–2 minutes to absorb all surface moisture before coating
02 – Mix the Garlic Butter (1 Minute)
- Melt butter in a microwave-safe bowl (about 25 seconds)
- Add garlic, olive oil, paprika, onion powder, salt, pepper, and red pepper flakes
- Stir until fully combined into a smooth coating
03 – Coat the Shrimp (1 Minute)
- Add dried shrimp to the garlic butter bowl
- Toss until every shrimp is coated on all sides
- Rest for 5 minutes if time allows – even a short marinade deepens flavor
04 – Preheat the Air Fryer (3 Minutes)
- Set to 400°F and run empty for 3 minutes
- A preheated basket delivers an immediate sear the moment shrimp hits it
- Skipping this step causes butter to pool instead of caramelize
05 – Cook in a Single Layer (6–8 Minutes)
- Arrange shrimp flat – no stacking, no overlapping
- Cook at 400°F for 3–4 minutes, then flip each shrimp with tongs
- Cook another 3–4 minutes on the second side
Doneness cues to watch for:
- Shrimp turns fully pink and opaque throughout
- Edges show golden caramelized color from the garlic butter
- Shrimp curls into a loose “C” shape ← this is your target
Key Warning: A tight “O” shape means overcooked. Overcooked shrimp is tough and rubbery – no sauce fixes it. Always pull at the “C” stage.
06 – Finish and Serve (1 Minute)
- Transfer immediately to a serving dish
- Squeeze fresh lemon juice over the top
- Scatter chopped parsley and serve hot

Serving Ideas
Air fryer shrimp is incredibly versatile. Here are the six best ways to use it:
- Garlic butter pasta – Toss with linguine, reserved pasta water, and Parmesan. Total time: 20 minutes.
- Shrimp tacos – Serve in warm tortillas with shredded cabbage, avocado, and chipotle crema.
- Rice bowls – Spoon over jasmine rice with steamed broccoli and soy-sesame drizzle.
- Party appetizer – Serve with cocktail sauce and garlic aioli for dipping.
- Protein salad – Add to a Caesar or mixed green salad for a satisfying low-carb lunch.
- With crusty bread – Use bread to soak up the pooled garlic butter at the bottom of the dish. Arguably the best part.
5 Common Mistakes and How to Fix Them
- Skipping the pat-dry step – Shrimp steams instead of sears. Always dry completely before adding to the garlic butter.
- Not preheating the air fryer – Butter pools and shrimp sits in liquid. Always preheat 3 full minutes at 400°F.
- Overcrowding the basket – Blocks air circulation; shrimp steams unevenly. Cook in batches – the extra time is worth it.
- Using garlic powder instead of fresh – No caramelization, flat flavor. Always use freshly minced garlic cloves.
- Cooking past the “C” shape – Results in tough, rubbery texture. Watch closely in the final 90 seconds and pull immediately at the “C.”
Nutritional Profile: Why This Dish Fits Any Diet
Shrimp is one of the highest-protein, lowest-calorie proteins available. Per 3-ounce serving of plain shrimp:
- ~20 grams of protein
- ~85 calories
- ~1 gram of fat (before seasoning)
The garlic butter adds only about 50–60 calories per serving – far less than deep frying. This dish works within:
- Keto / Low-carb: Zero net carbs, high protein and satisfying fat
- Paleo: Whole food ingredients with no processed additives
- Mediterranean: Seafood, olive oil, fresh garlic – a natural fit
- High-protein plans: 25+ grams of protein per generous serving
Key micronutrients in shrimp:
- Selenium – antioxidant protection and thyroid support
- Iodine – essential for healthy metabolism
- Vitamin B12 – energy production and nerve function
- Astaxanthin – the potent antioxidant behind shrimp’s pink color
Storage and Reheating
Refrigerator: Store in an airtight container for up to 3 days. Add a paper towel inside to absorb moisture.
Best reheating method:
- Set air fryer to 350°F
- Reheat for 2–3 minutes only
- Check at 2 minutes – overheating makes shrimp rubbery instantly
Avoid the microwave at all costs. The air fryer is the only method that preserves the original caramelized texture.
Freezing:
- Freeze in a single layer on a parchment-lined sheet for 1–2 hours
- Transfer to a sealed freezer bag and store up to 1 month
- Reheat from frozen at 375°F for 4–5 minutes – no thawing needed
Frequently Asked Questions
Q1: How long do you cook shrimp in an air fryer?
Cook shrimp at 400°F for 6–8 minutes total – 3–4 minutes per side, flipping halfway through. Large shrimp (16/20 count) need the full 8 minutes. Medium shrimp (31/40 count) may finish in 5–6 minutes. Shrimp is done when it turns pink, opaque, and curls into a “C” shape.
Q2: Do you have to preheat the air fryer before cooking shrimp?
Yes – preheat to 400°F for 3 minutes before adding shrimp. A preheated basket triggers immediate caramelization of the garlic butter. Without preheating, the butter pools and the shrimp steams instead of sears, resulting in a pale, soft exterior.
Q3: Can you cook frozen shrimp in the air fryer without thawing?
Yes, but results are significantly better with thawed shrimp. If cooking from frozen, increase the cook time by 2–3 minutes at 390°F. Frozen shrimp releases excess moisture that reduces caramelization. For best garlic butter results, always thaw first.
Q4: What temperature should I set the air fryer for shrimp?
Set your air fryer to 400°F (204°C). This temperature is essential for caramelizing the garlic butter and creating crispy golden edges. Temperatures below 375°F tend to steam rather than sear the shrimp, producing a softer, less flavorful result.
Q5: How do you know when air fryer shrimp is done?
Shrimp is done when it turns opaque pink, curls into a loose “C” shape, and shows golden edges from the caramelized garlic butter. Internal temperature should reach 120°F. A tight “O” curl means overcooked – rubbery and tough.
Q6: Can I use pre-cooked shrimp in the air fryer?
Yes, but only to reheat – not cook. Air fry pre-cooked shrimp at 350°F for just 2–3 minutes. Cooking longer makes it rubbery. For the best texture and full garlic butter caramelization, always start with raw shrimp.
Q7: What is the best shrimp size for the air fryer?
Large to extra jumbo (16/20 or 21/25 count per pound) are the best sizes. They withstand high heat without drying out and provide enough surface area for proper garlic butter caramelization. Smaller shrimp (41/50 count or below) cook too fast and are difficult to flip without tearing.
Q8: Can I make air fryer shrimp without butter?
Yes. Substitute the butter with 3 tablespoons of extra-virgin olive oil or a plant-based butter alternative for a dairy-free version. Flavor will be slightly less rich, but fresh garlic, lemon, and spices still deliver excellent results. Cook time and method remain identical.
Tested across Ninja Foodi, Cosori Pro II, and Instant Vortex Plus air fryer models. Results are consistent across all three.